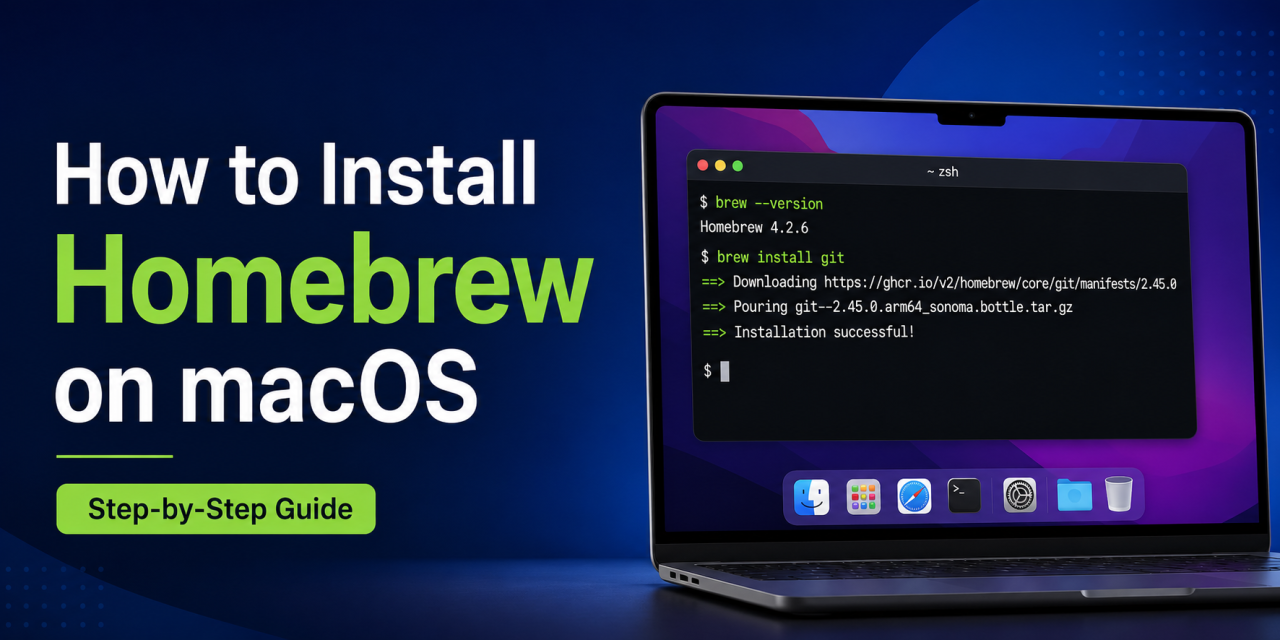
Homebrew is one of the most useful tools you can install on your Mac. It allows you to install apps, developer tools, and command line software directly from Terminal.
Instead of searching websites for downloads and manually installing programs, Homebrew lets you install software with a simple command. Whether you want Git, Python, Node.js, Visual Studio Code, or other tools, Homebrew makes the process much easier.
In this guide, we’ll show you how to install Homebrew on macOS and how to start using it.
What Is Homebrew?
Homebrew is a free package manager for macOS. Think of it as an app store for Terminal. It helps you install software quickly using commands instead of downloading installers manually.
Popular tools you can install include:
- Git
- Python
- Node.js
- Visual Studio Code
- Google Chrome
- wget
- FFmpeg
- Docker
Homebrew is especially popular with developers, but regular Mac users can benefit from it too.
Why Use Homebrew?
Homebrew saves time.
Instead of:
- Searching Google
- Downloading files manually
- Dragging apps into Applications
- Checking for updates manually
You can manage many tools directly from Terminal. This is especially helpful if you set up new Macs often.
Is Homebrew Safe?
Homebrew is widely trusted and used by millions of Mac users. Always download it from the official website:
Avoid downloading installation scripts from unofficial websites.
Step 1: Open Terminal
Press:
Command + Space
Type:
Terminal
Press Enter.
Step 2: Install Homebrew
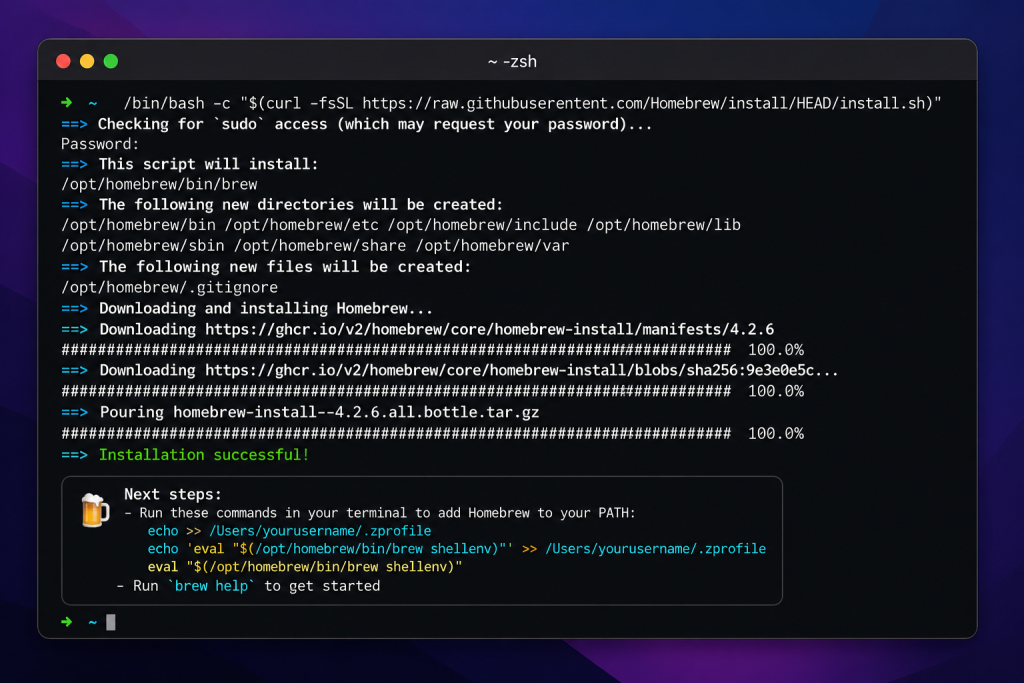
Homebrew installs directly through Terminal and only takes a few minutes to set up on macOS.
Paste this command:
/bin/bash -c "$(curl -fsSL https://raw.githubusercontent.com/Homebrew/install/HEAD/install.sh)"Press Enter.
Follow the installation prompts. You may be asked for your Mac password.
Step 3: Verify Installation
After installation finishes, type:
brew --versionThis confirms Homebrew is installed correctly.
Step 4: Search for Software
Before installing something, you can search for available packages:
brew search gitThis helps you find the correct package name.
Step 5: Install Your First Package
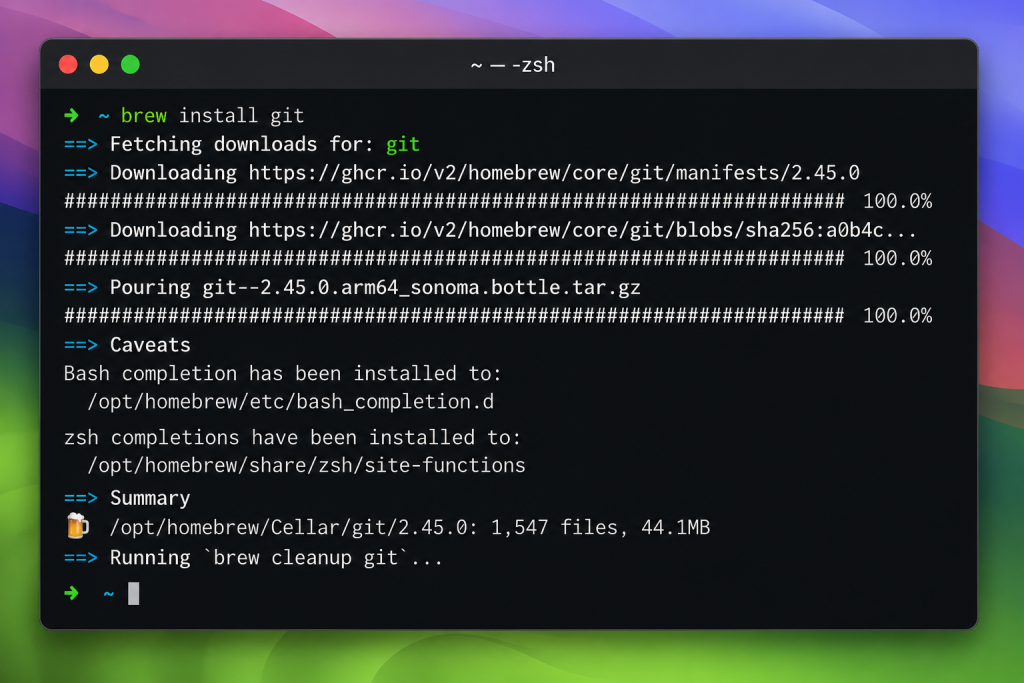
Install Git:
brew install gitOther examples:
brew install python
brew install node
brew install wget
Step 6: Install Mac Apps with Homebrew Cask
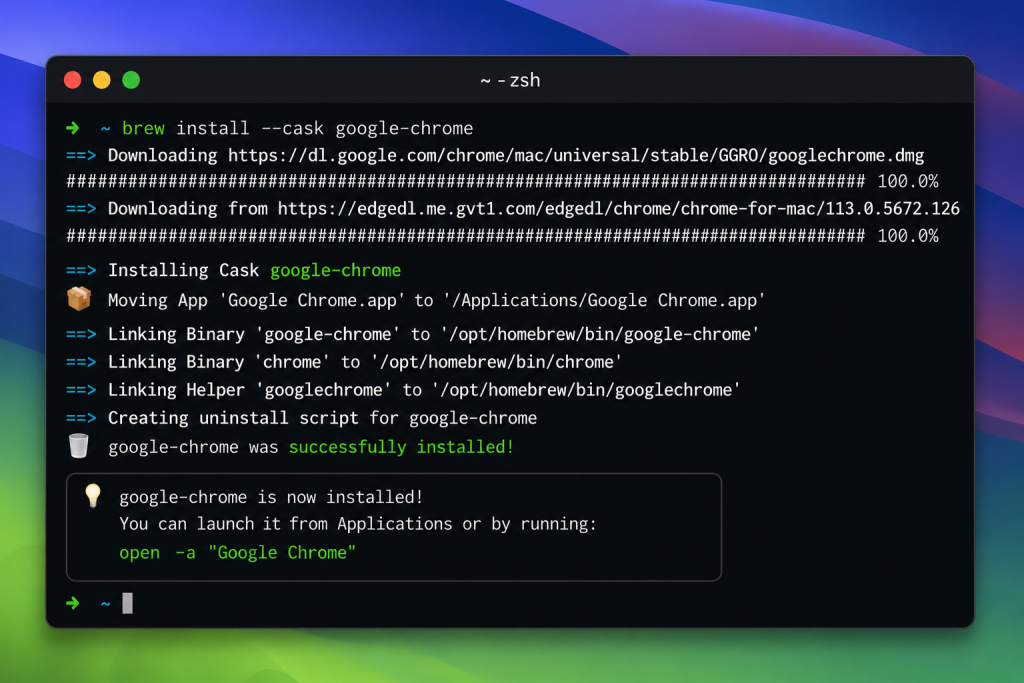
Homebrew Cask lets you install full Mac apps like Google Chrome directly from Terminal.
Homebrew can also install full Mac applications.
Example:
brew install --cask google-chromeOther examples include:
- Visual Studio Code
- Discord
- Spotify
- Docker
This is one of Homebrew’s most useful features.
Step 7: Update Homebrew
Keep Homebrew updated by running:
brew update
brew upgrade
Step 8: Uninstall Apps
Remove software you no longer need:
brew uninstall gitFor cask apps:
brew uninstall --cask google-chromeBest Apps to Install with Homebrew First
If you’re new to Homebrew, here are some popular tools worth installing first.
Git
brew install gitUseful for developers and anyone using GitHub.
Python
brew install pythonHelpful for scripting, development, and automation.
Visual Studio Code
brew install --cask visual-studio-codeOne of the most popular code editors available.
Google Chrome
brew install --cask google-chromeQuick way to install a browser without manually downloading it.
VLC Media Player
brew install --cask vlcA popular media player that supports many file types.
Homebrew on Apple Silicon vs Intel Macs
Homebrew works on both Apple Silicon Macs and Intel Macs. On Apple Silicon Macs, Homebrew may install files in a different directory than older Intel systems.
The installer usually handles this automatically. If Homebrew asks you to update your PATH settings during installation, follow the instructions shown in Terminal.
Common Homebrew Problems
Command Line Tools Missing
macOS may ask you to install Apple Command Line Tools. Follow the prompts.
Permission Errors
Restart Terminal and try again. Make sure your password was entered correctly.
Homebrew Command Not Found
Close Terminal and reopen it.
Then run:
brew --versionFinal Thoughts
Homebrew makes managing software on macOS much easier.
Once you start using it, installing apps and developer tools becomes much faster.
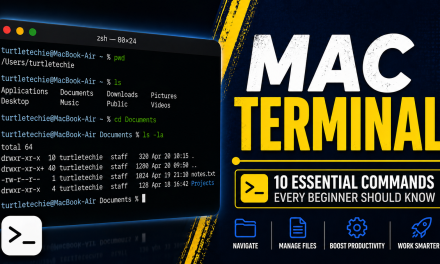
If you’re learning Terminal basics, check out our guide on macOS Terminal commands every beginner should know.